


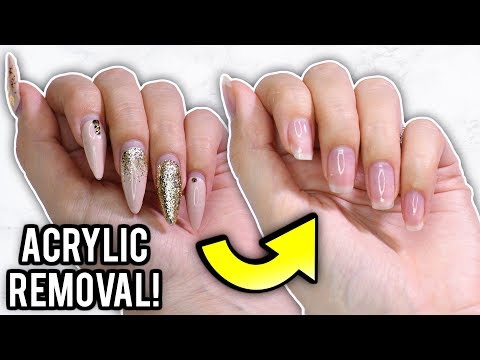
A brand-new set of artificial nails has an undeniable allure; they give your natural nails more length and shine and provide countless options to play with different nail art and color schemes. No matter how trendy many options like builder gel and dip powder become more accessible, our affection for artificial nails will never wane. (And they won’t either acrylics are incredibly durable).
Finding a way to remove acrylic nails without harming your natural nails is the opposite of that staying power. You will regret trying to tear them off, so you can’t really do that. Furthermore, even though TikTok is rife with viral methods for getting rid of acrylic nails, they aren’t always effective.
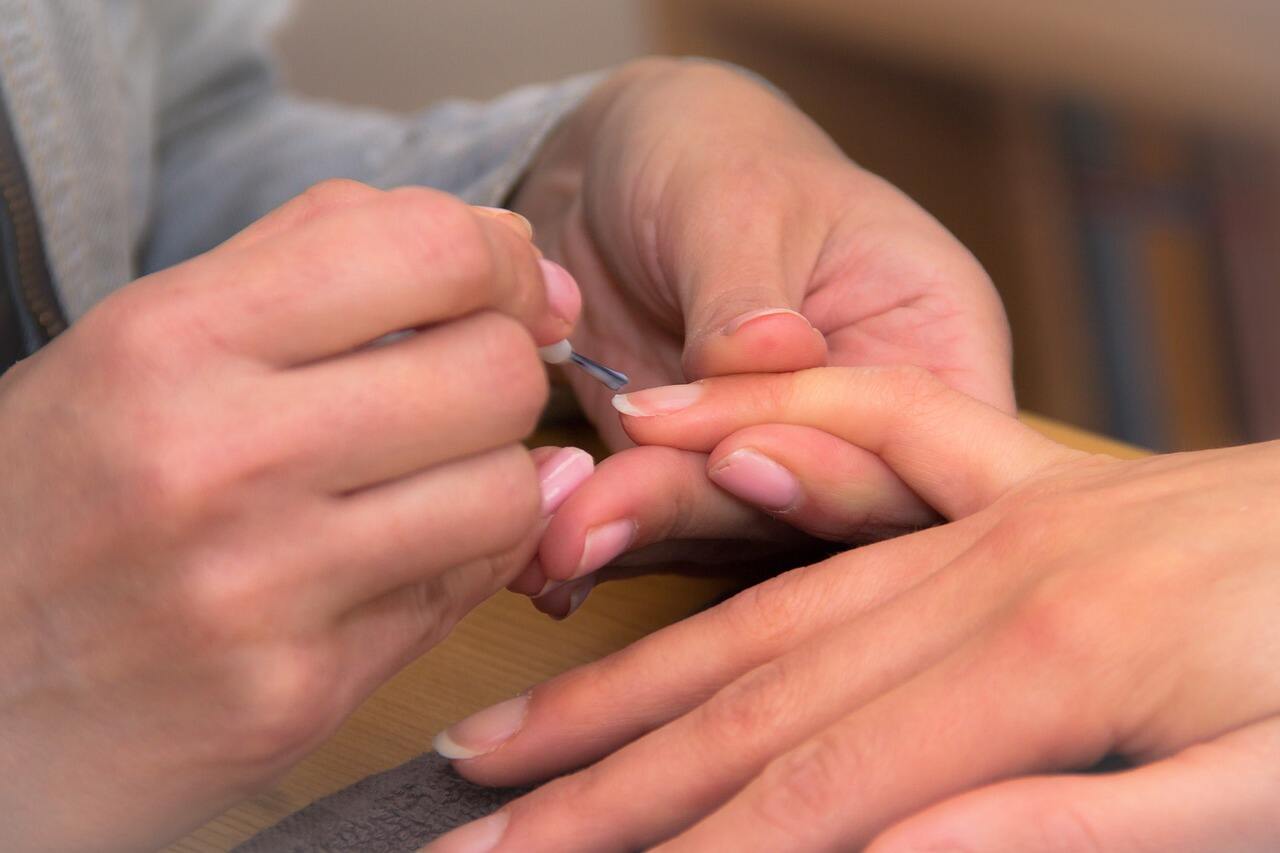
Ultimately, the safest method of removing acrylics is to visit a salon for a professional removal. If that’s not feasible, there are safe and efficient do-it-yourself methods for removing acrylic nails. Here, we’ll go over how to safely remove artificial nails at home and share some of our best advice for maintaining strong, healthy nails that are ready for nail art.
How to Take Off Acrylic Nails at Home?
There are several safe methods that you can use at home to remove artificial nails, some of which don’t include acetone. And don’t be afraid to unleash your inner nail tech if you’re feeling a little scared about it; it’s actually very simple to remove acrylic nails without causing any damage.
The removal solutions listed below should work for you, whether your go-to manicure is a traditional French manicure or you’re mixing things up with striking neon nails.
Which Method Removes Acrylic Nails the Best?


An acetone soak is one of the most popular methods for removing fake nails without harming your natural nails. You’ve probably had this experience in salons, but you can easily do the same thing at your kitchen table.
What you will require:
- Clippers for nails
- The nail file
- A nail polish remover with 100% acetone
- Gelatin made of petroleum
- Balls of cotton
- Foil made of aluminum
How to Use Acetone to Remove Artificial Nails

Step 1: Clip
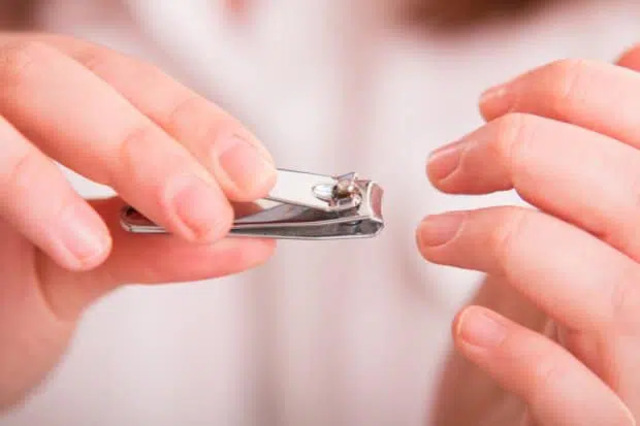

To begin, trim any excess length from your acrylic nails using a nail clipper. The less material left to work with, the better.
Step 2: Prep
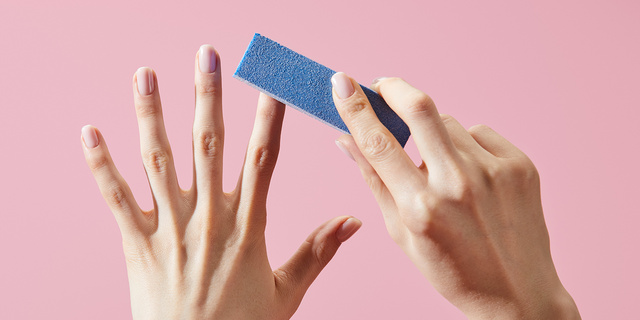

Prepare Your nails by filing and buffing them to get rid of any polish that may have been placed over the acrylics. Next, prepare your cuticles for an acetone soak by putting petroleum jelly or cuticle oil on your fingers and the base of your nail beds (this will help keep your cuticles from drying out).
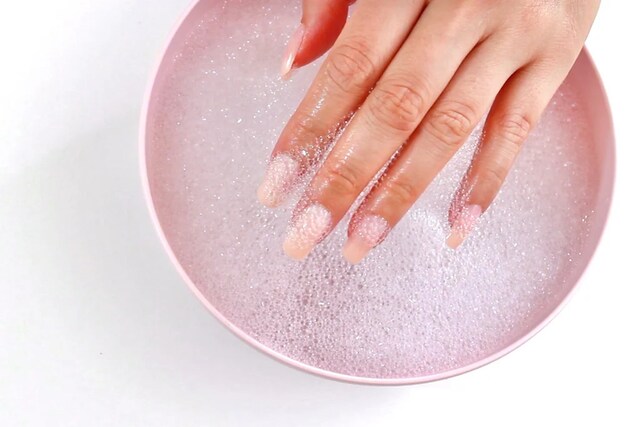
Step 3: Soak and wrap


To completely cover the nail, lay a cotton ball soaked in acetone nail polish remover on top of the acrylic. To cover the cotton ball and your nail, wrap a piece of aluminum foil over the tip of your finger. Repeat the process with the other nail.
Step 4: Hold on
The easy part is about to begin. While the acetone does its work, kick back and unwind for around twenty minutes (we suggest using this time to get ideas for your next nail art).
Step 5: Go away (or soak once more)
After the allotted time has elapsed, carefully remove the aluminum foil from one of your nails. The acrylic ought to be sufficiently pliable to allow for effortless flaking off. Give your nails another five to ten minutes to soak if it’s still not quite there.
How Can Acrylic Nails Be Removed Without Using Acetone?
We have a useful DIY tutorial if you prefer not to use acetone for nail removal. Without acetone, this method of removing artificial nails is quite easy and requires slightly longer time to finish.
How Not to Use Acetone When Removing Acrylic Nails
Step 1: Cut
Once more, start by cutting your acrylics as short as you can.
Step 2: Adjust
Pry and lift your acrylics’ edges lightly with a cuticle stick or a pair of tweezers. Here, “gently” is crucial. If you push it, you’ll likely injure your nails in addition to experiencing excruciating agony.
Step 3: Immersion
Next, fill a bowl to the brim with acetone-free nail paint remover, being sure to soak your fingertips completely. Soak your nails for thirty to forty minutes, or until the acrylic starts to come off significantly.
Step 4: Slice
Using tweezers, carefully remove the acrylics from your nailbeds when their hold starts to weaken. Soak your fingers in the polish remover for a little while longer if you must push it.
How to Remove Acrylic Nails Fast
If you don’t have time to soak your nails, you can remove artificial nails while they’re growing out with waxed or unwaxed floss. Although this procedure works quickly to remove acrylic nails, if used too soon, it may cause harm to the nails. Therefore, before attempting this one, make sure those acrylics are actually hanging on by a thread (get it?).
Quick method for removing artificial nails without soaking them first
To begin with, make sure your nails are ready to be removed. For this approach to be effective, your nails must be obviously grown out and loose. If so, assemble your equipment and set to work.
What you will require:
- Stick cuticles
- Sticks of dental floss
Step 1: Raise your arms
Grasp your cuticle stick and use it to carefully lift your acrylics’ edges. In the event that your acrylic nails have started to lift, this step could not require much work on your part.
Step 2: Take off
Once the acrylic nail edges have lifted, place a dental floss strand beneath the acrylic’s base. Once the acrylic comes out, carefully saw its way up the nail with the floss.
Which Method of Acrylic Removal Is the Safest?
Although there are a few methods for removing acrylics, hiring a professional to do it for you when you visit the salon is the quickest and most efficient option. Seeing a specialist reduces your risk of unintentional damage since, quite simply, they have access to stronger formulations and instruments than you do at home.
The at-home acetone soak is your second-best option, barring a salon visit. Work gently, patiently, and slowly, in the end, you’re less likely to injure your cuticles or nails the slower you move.
How to Take Care of Your Nails at Home After Acrylic Removal
Maintaining your natural nails is essential at all times, but it becomes even more so once you take off your acrylics. If you follow these guidelines, you should end up with strong, attractive nails.
Step 1: Buff your nails.
There can be some bonder residue left on you after removing your acrylics. To buff the tops of your nails and get rid of any residue, use a glass nail file. This will prevent clothing, skin, and other delicate items from getting snagged by keeping your nails clean and devoid of jagged textures.
Step 2: Handle the nail beds.
After removing the acrylic, your cuticles could require some attention. To assist soften and take care of your cuticles, apply oil around the edge of your nails (as well as your entire nail bed).
Step 3: moisten your hands
Lastly, reach for a moisturizing hand moisturizer and give your hands some love.
What to Use After Acrylic Removal on Your Nails
It’s crucial to take care of your hands and nails whether you choose to get the removal done at home or merely do it yourself when necessary. Discover how to take care of your nails so they continue to feel strong and healthy every day.
Cuticle oil
In order to maintain your cuticles and nail beds supple and moisturized, cuticle oil is a crucial component of nail care, particularly aftercare. Use it prior to, during, and following a manicure. If you oil your cuticles before bed every night, consider keeping a bottle on your bedside.
Hand lotion
Your hands and cuticles may feel dry after removing acrylic nails, regardless of how carefully you do it. Apply moisturizing cream or lotion to your hands at least once a day to combat any dryness (but it won’t hurt to do so more frequently).
SPF
You probably already know that your face, neck, and hands should be protected with SPF, but don’t forget about your hands. Even while applying acrylic nails doesn’t require a UV lamp to cure, like applying gels, it’s still crucial to shield your hands from harmful radiation.
Because it feels lightweight and provides broad-spectrum protection against UVA and UVB rays, we adore the L’Oréal Paris Bright Reveal Broad Spectrum SPF 50 Daily UV Lotion.
Conclusion
Removing acrylic nails at home can be a manageable and safe process if approached with the right techniques and patience. While professional removal at a salon is always the best option for ensuring the health of your natural nails, DIY methods can also be effective when done correctly. Whether you choose to use acetone or opt for acetone-free alternatives, the key is to follow the steps carefully to avoid any damage.
After the removal process, proper nail care is essential for maintaining the health of your natural nails and preparing them for your next nail art adventure. By buffing your nails, moisturizing your hands, and applying cuticle oil, you can promote strong, healthy nails that are ready for whatever comes next.
Remember, taking the time to remove acrylics properly and care for your nails afterward will help you enjoy beautiful and healthy nails for years to come.
See Also: The Ultimate Guide to Creating Your Perfect Pool Design


